Custom All-In-One PC
2022 Personal Project
This one has it all: Retro Vibes! Aluminum Extrusions! Christmas Spirit! Pop OS! And I think technically, USB-C.
Project Summary
This is a custom PC I built for my little sister as a Christmas present! The enclosure is 100% custom by me, made of acrylic and aluminum extrusions. I took inspiration from retro all-in-one computers with chunky off-white ABS enclosures, like the first macintosh.
Motivation
My twin younger sisters were sharing the “family computer” which meant we couldn’t all play Minecraft together! So I decided to repurpose a PC that I built into an NES into a custom all-in-one for one of them. Some goals I had for the build were for it to:
- Have a lot of character! Be eye-catching, perhaps adorable, perhaps quirky, and a bit of a statement piece
- Still be totally practical and functional, and require as LITTLE troubleshooting as possible
- Be capable of playing games like Minecraft and handling the other demanding computing needs of a 10 year old
- Be an excellent excuse to learn more about laser cutting and Illustrator, which I was inexperienced with at the time
Design
The build consisted of a frame of aluminium extusions with acrylic panels on both the inside and outside, to which the components and fans were mounted, as well as 3D-printed brackets to mount pieces like the monitor.
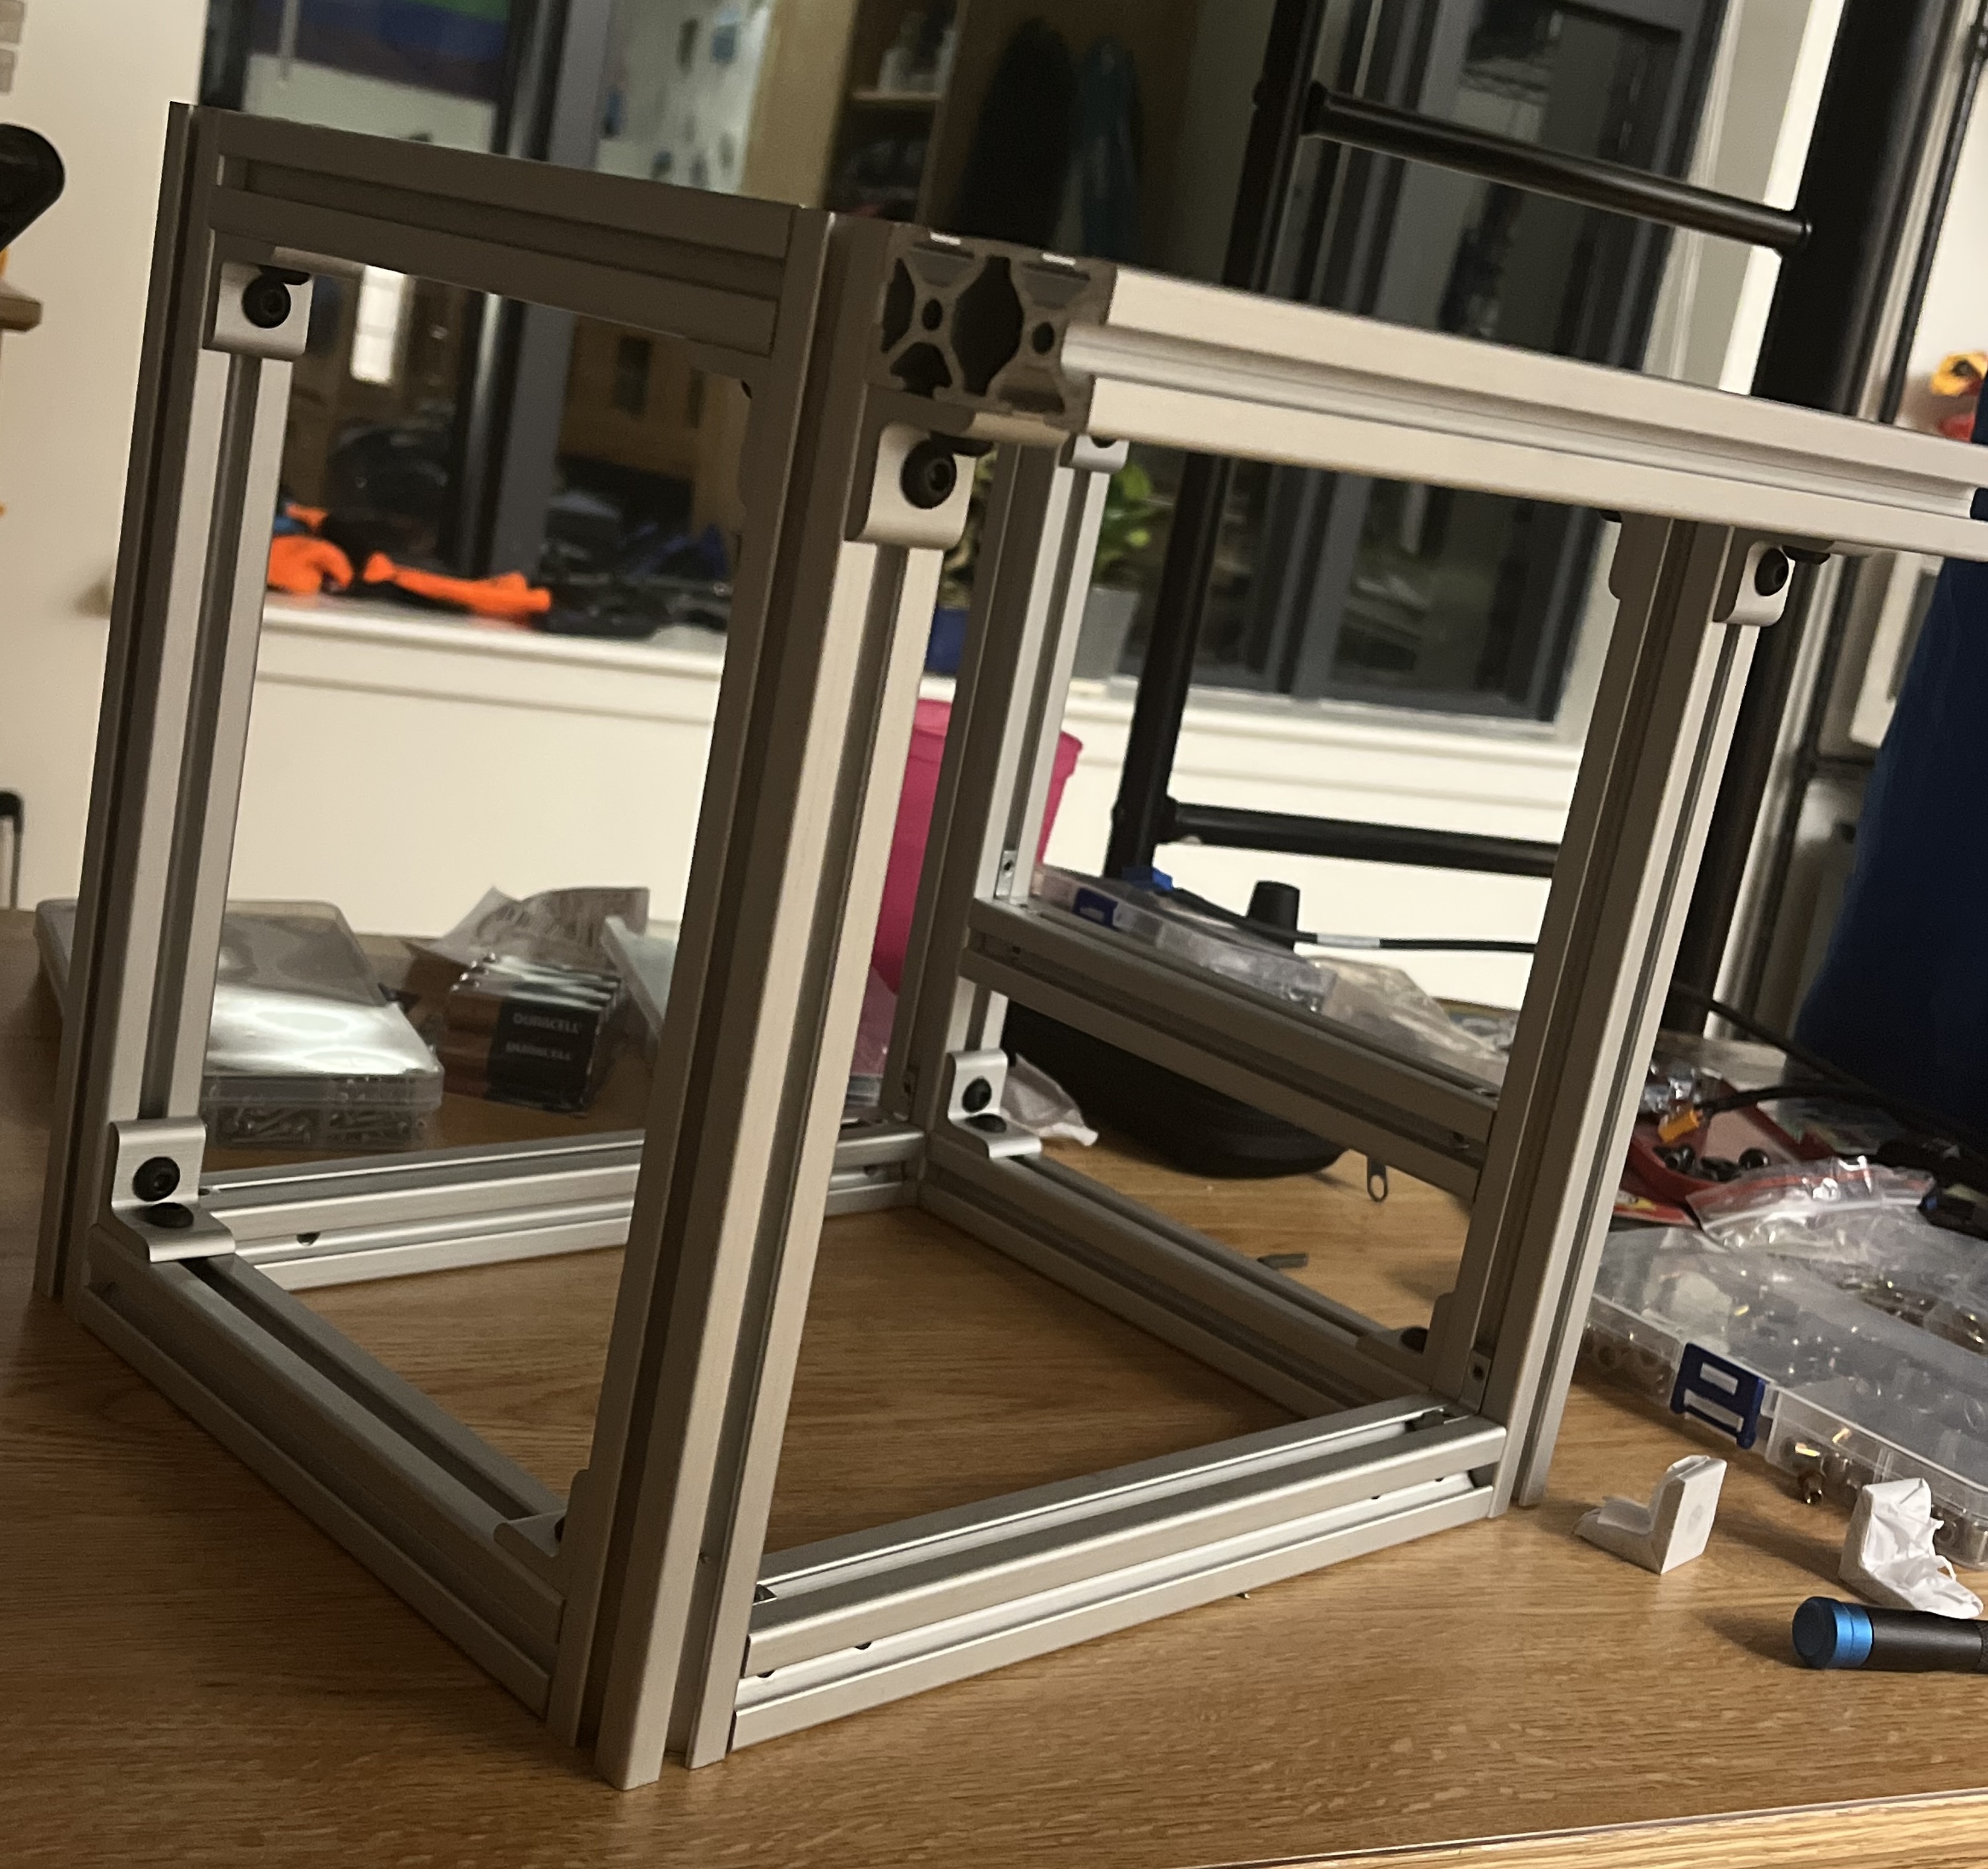
The bare frame. It's missing the bottom piece of
the front frame and the side fan mount.
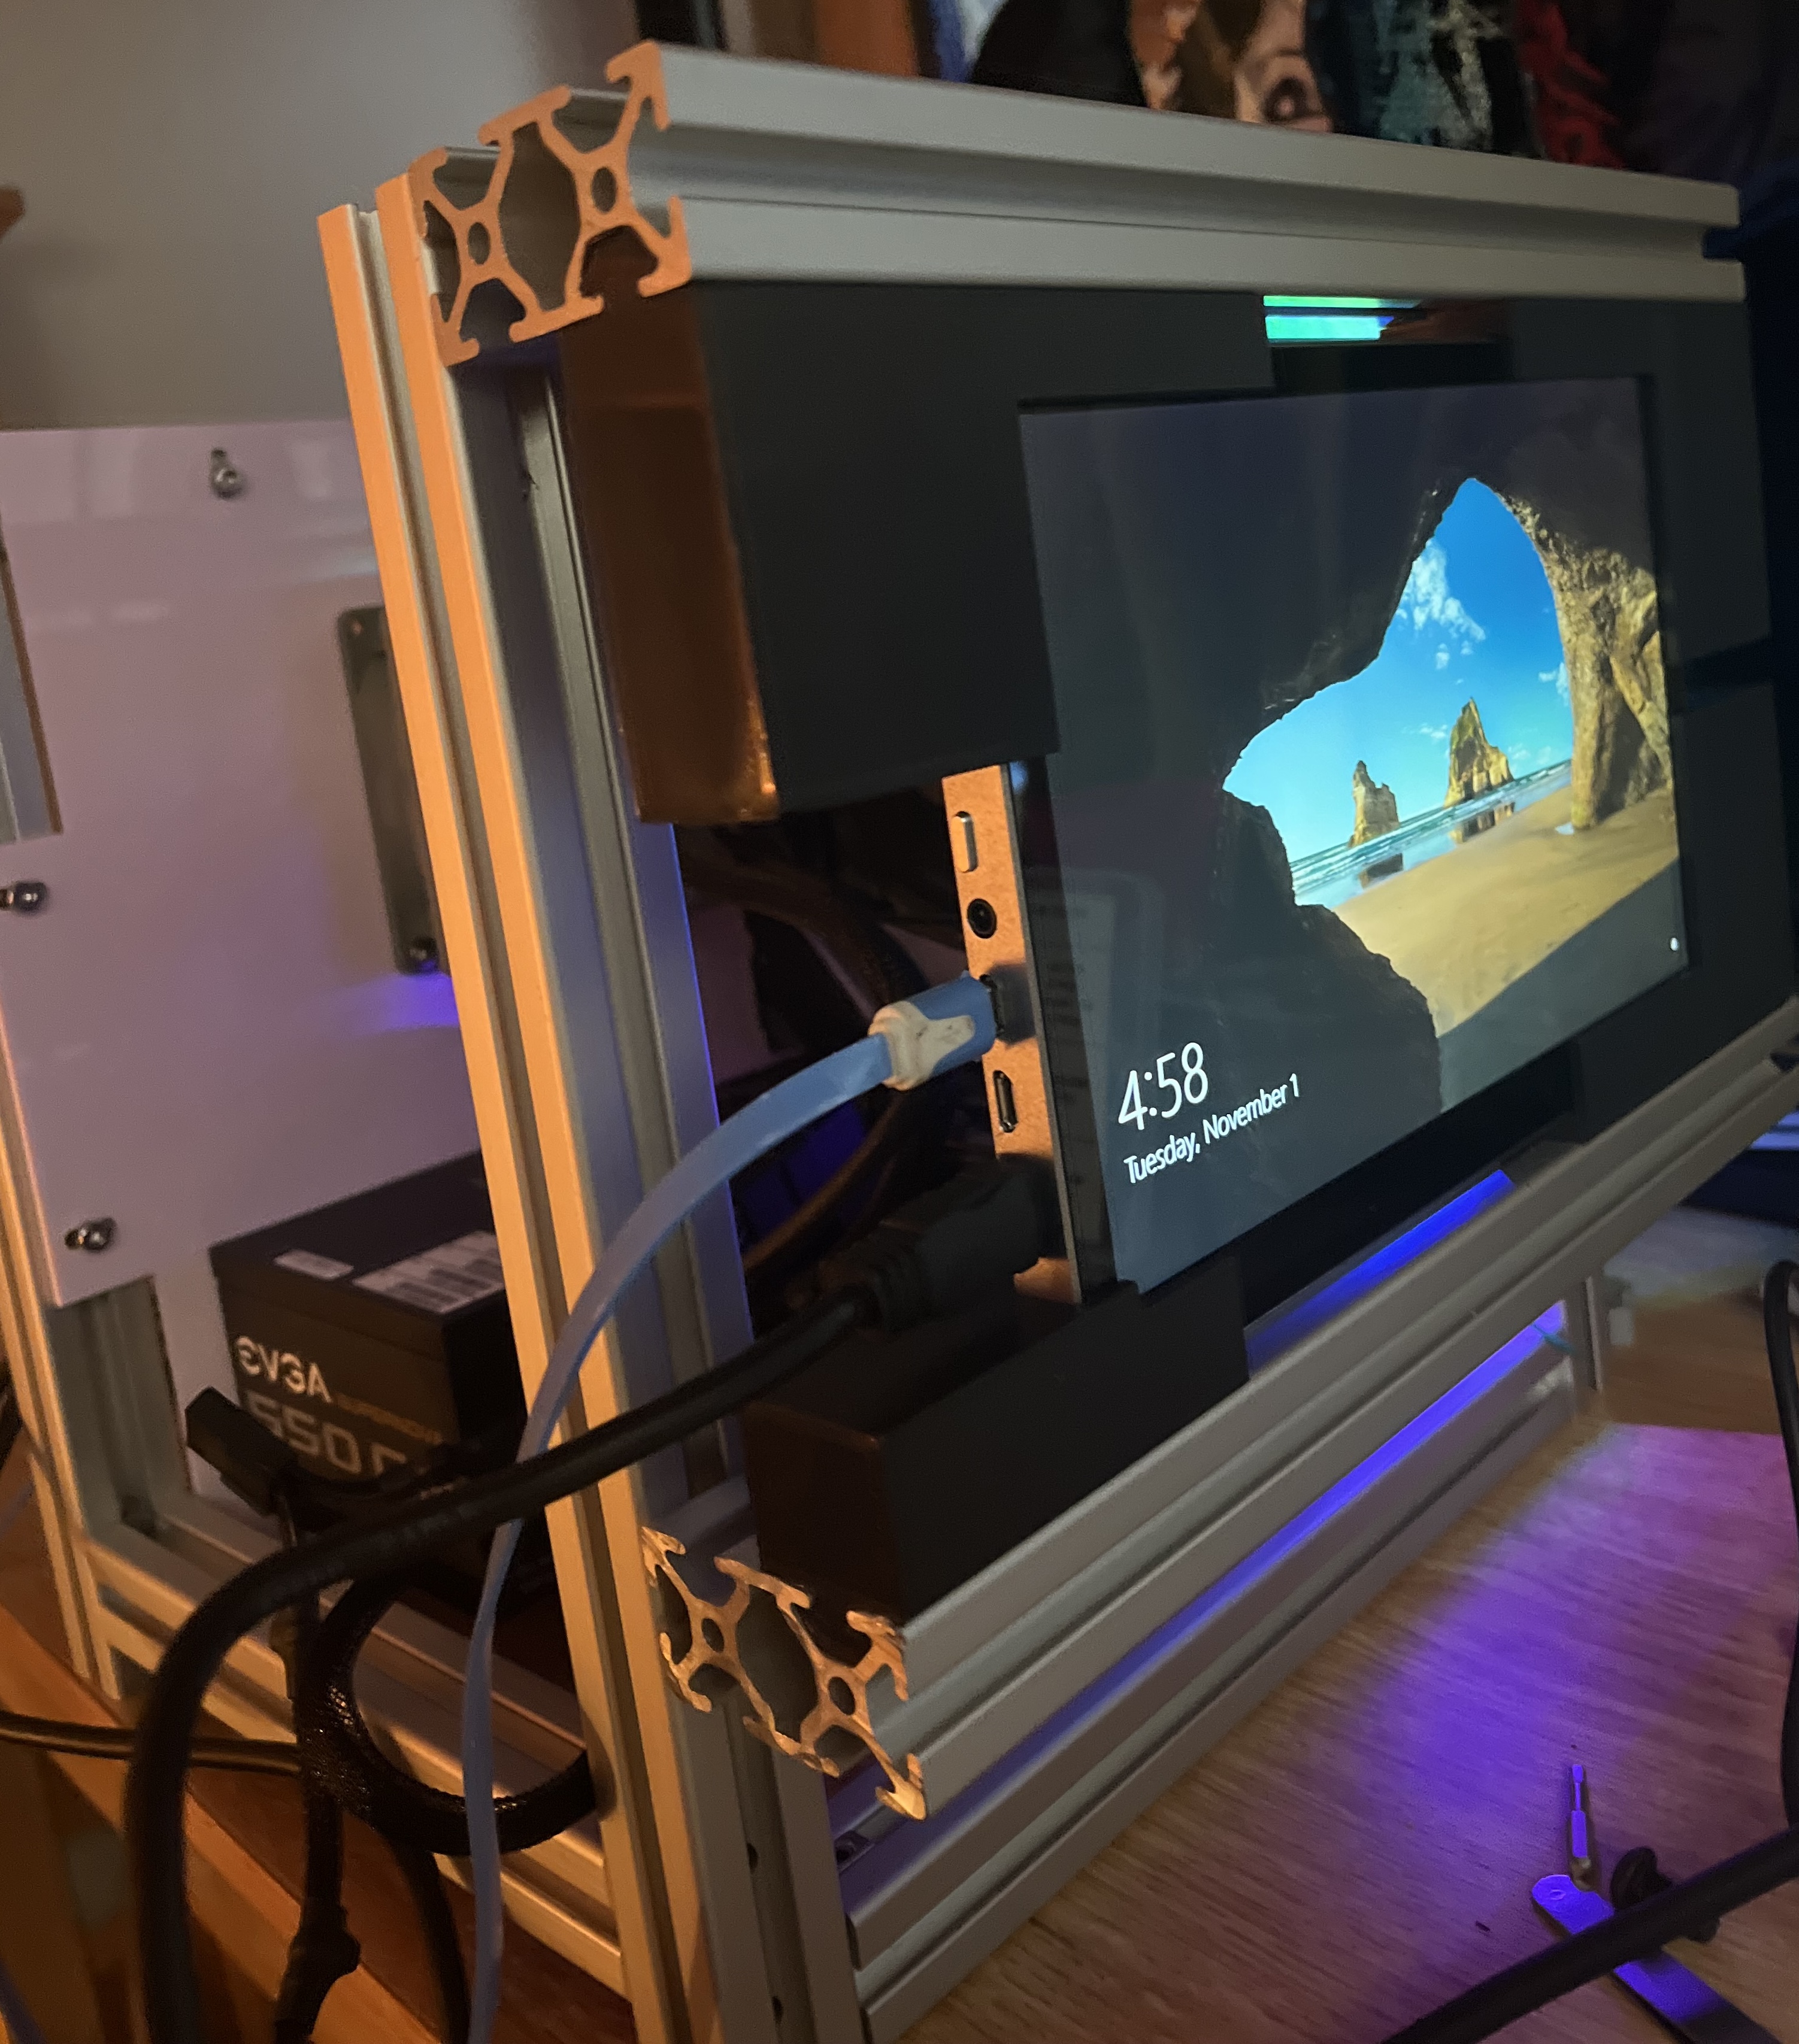
The monitor, mounted with 3D printed brackets.
Wiring
In terms of wiring, there is a hidden SATA drive behind the motherboard with a Linux (Pop! OS) ISO, as a little easter egg from when this computer was meant to be “Annie’s Linux Computer” and not “Her sister’s Minecraft PC”. The drive is connected to a key switch which physically disconnects power to the drive (which is the preferred boot drive) so I can switch it into Linux mode and boot it up for me, then remove my key and it goes back to being her PC – and she can’t even view the drive! This does, however, result in the most cursed cable in existence: a combination of molex (to get 5V from the PSU), micro-usb (providing continuous power to the monitor), ring terminals (for the key switch), and SATA (for the linux SSD).

I am so, so sorry.
Also for wiring, I made a custom front I/O panel with USB 3, intake fans (more on that later), a big and fun arcade button for power, and aftermentioned key switch.

Airflow
A lot of thought was put into airflow in the case. The main intakes are an 80mm fan in the back and the power supply fan, also on the back of the case. On the right side of the case, the motherboard is mounted, and the CPU cooler is positioned by the main intake. On the side opposite of the motherboard is a massive 140mm fan as the exhaust. The system works very well! The front panel also contains dual 40mm fans that kick in if the graphics card temps get too high, and intake cool air directly onto the card’s heatsink.
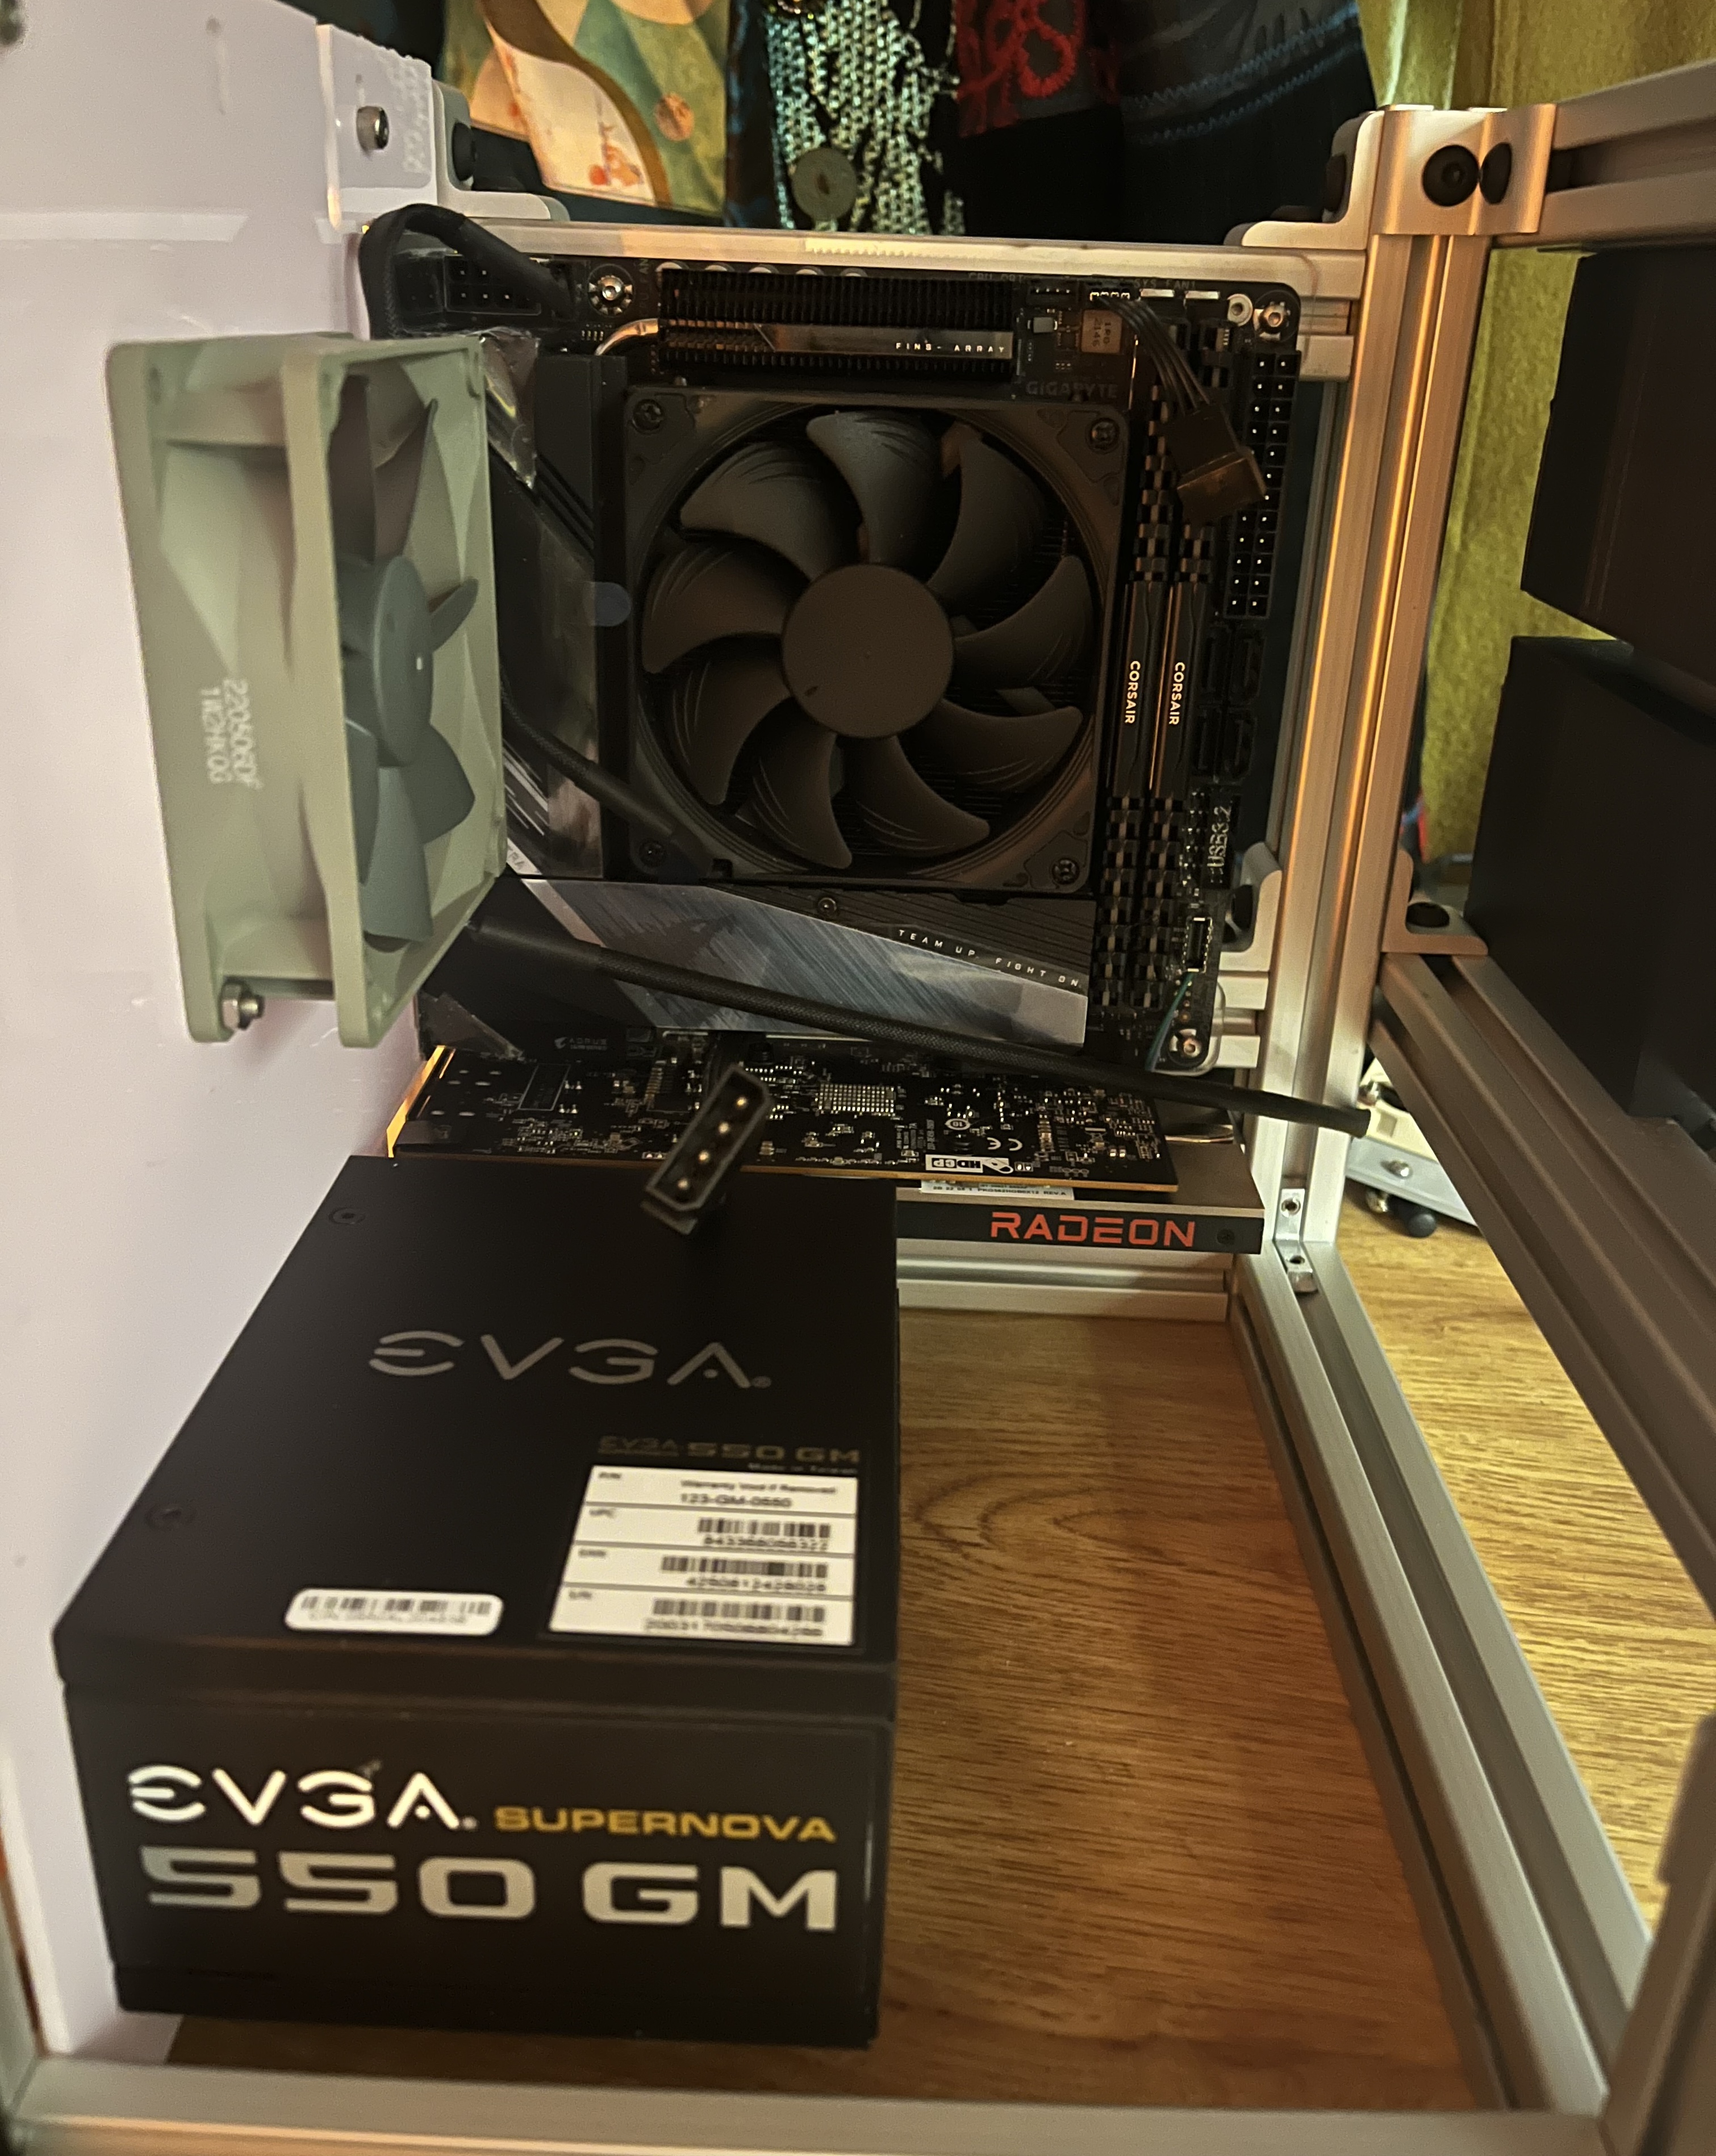
A test fit of the motherboard and intake.
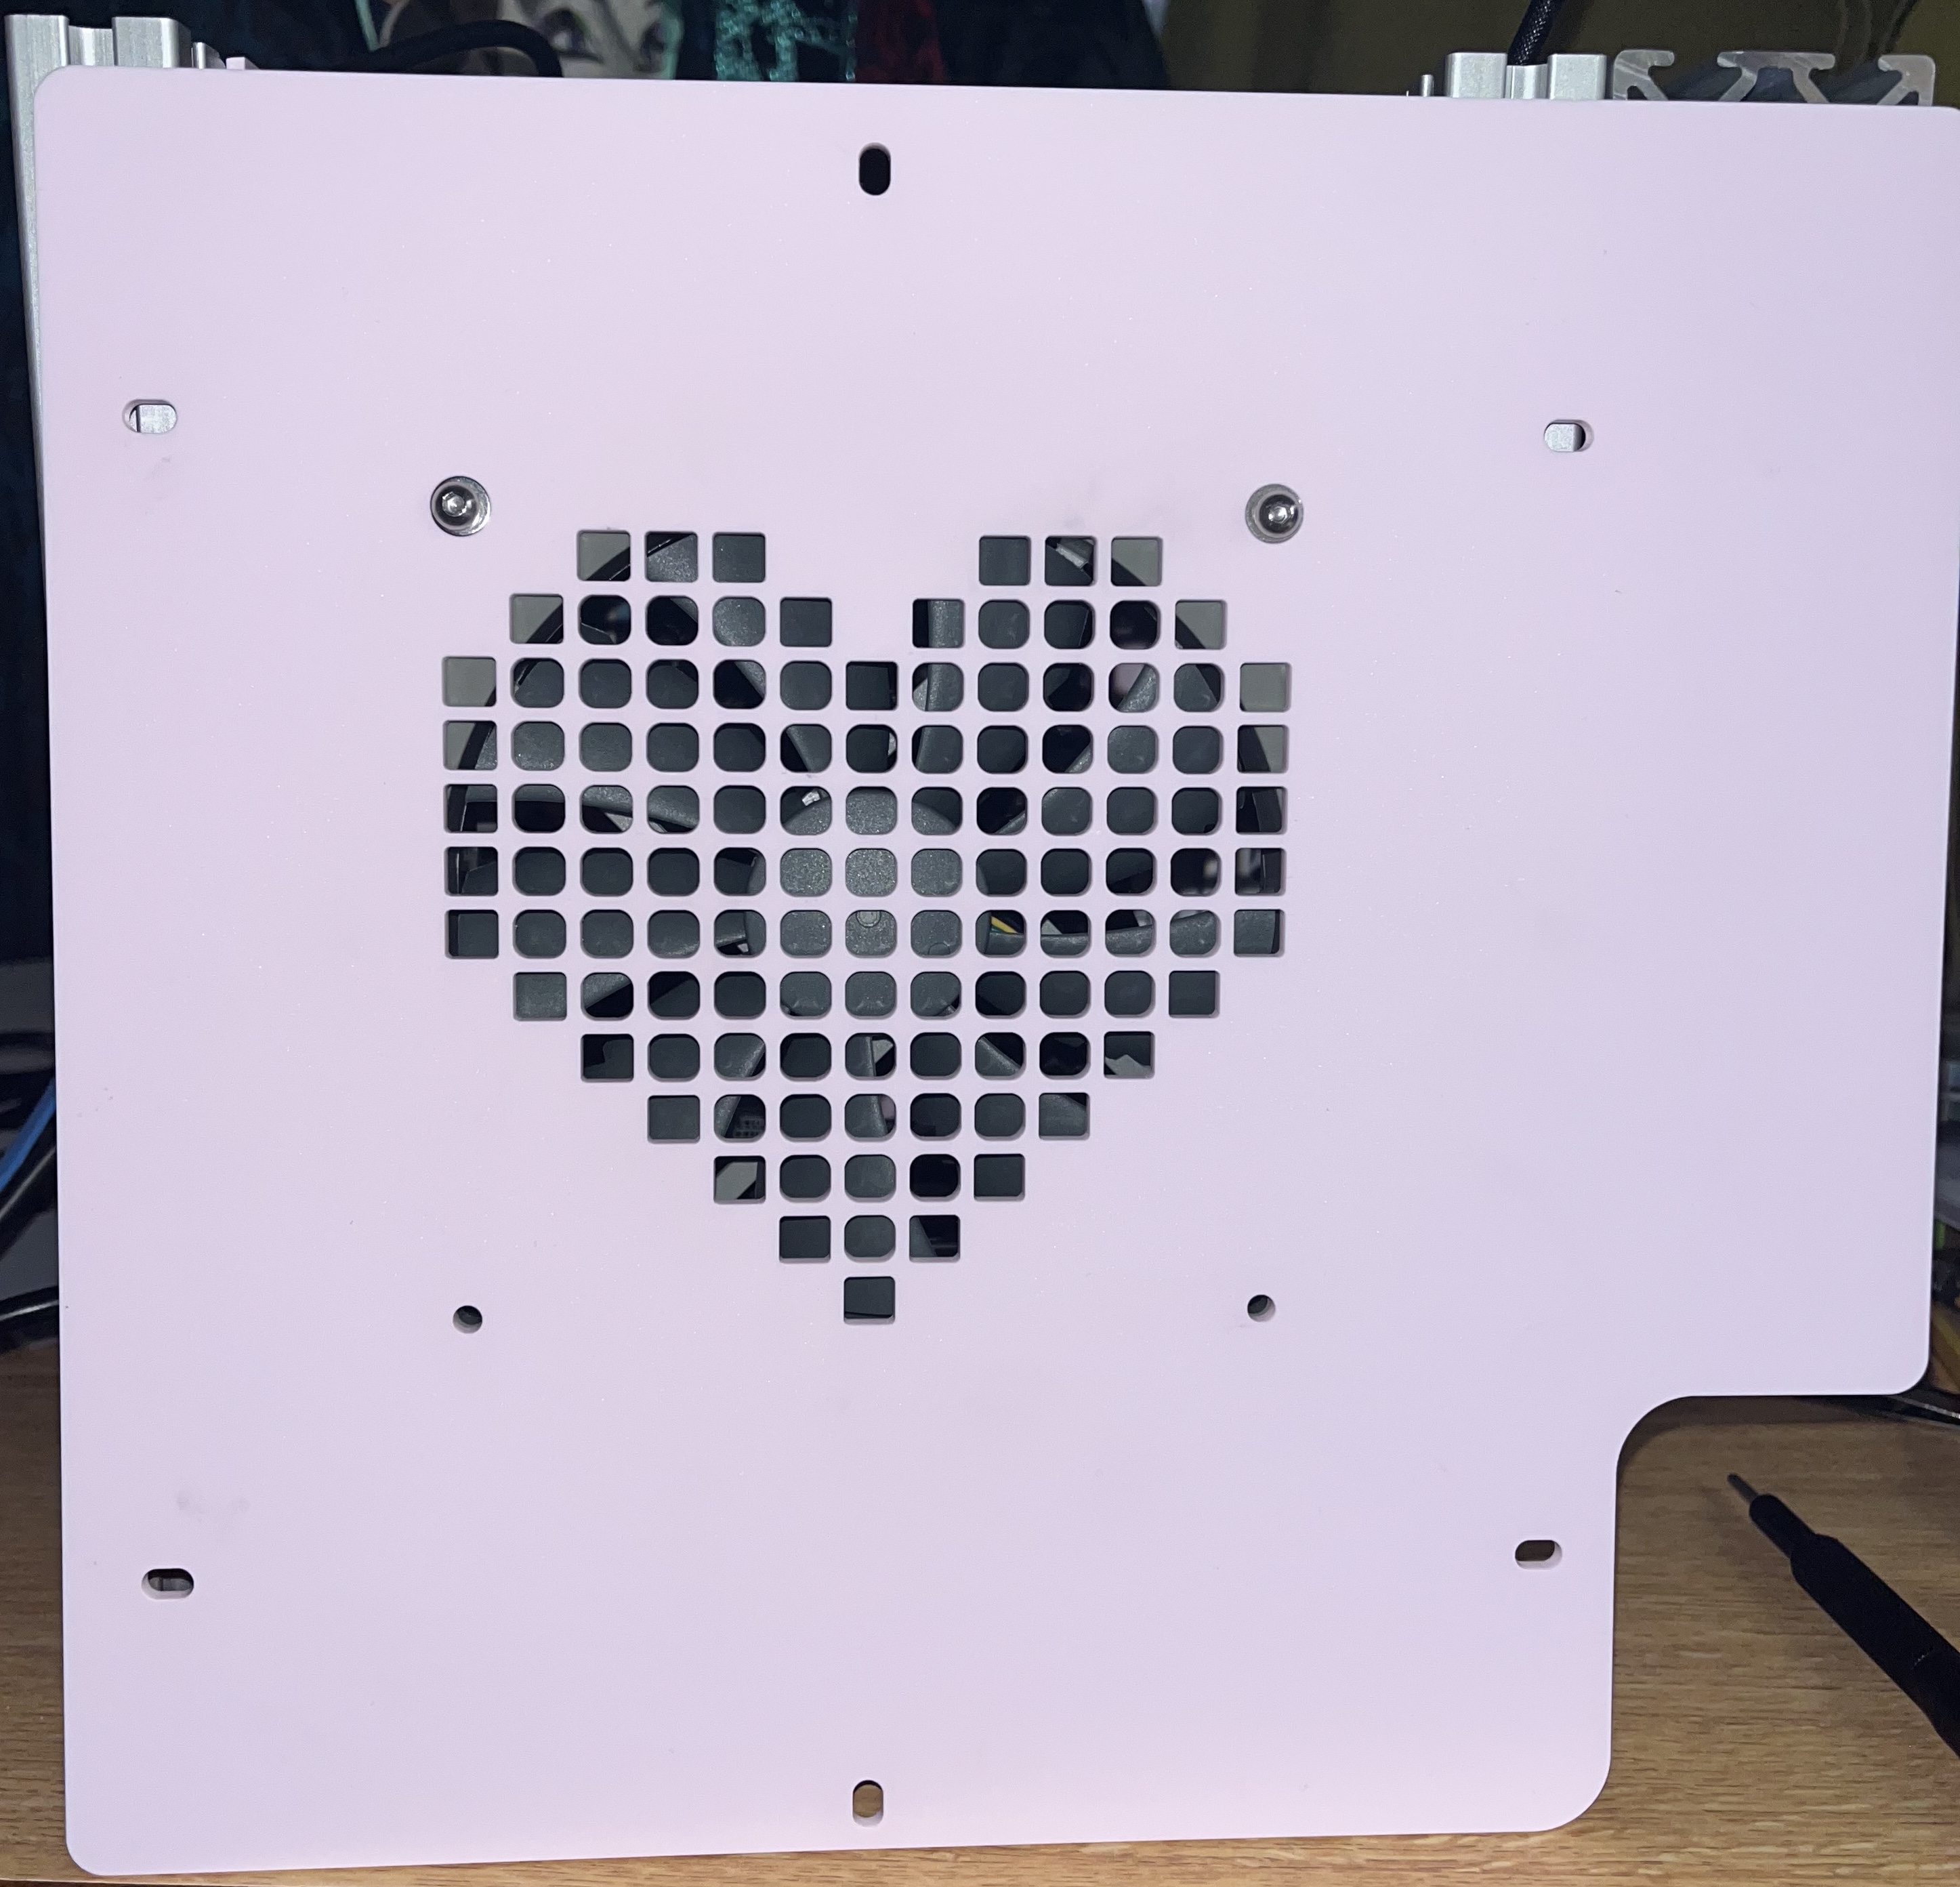
A test fit of the side panel with 140mm fan.
Aesthetics
Since I wanted to evoke retro all-in-ones, and their gorgeous off-white plastic enclosures, I went with an off-white acrylic that leaned extremely pink (so as to be sister approved). I wanted the classic blocky look, and settled with a design that is a little taller than being a cube, and has a recess for I/O (or an extrusion for the monitor, however you see it). I think it is perfectly striking, yet familiar!
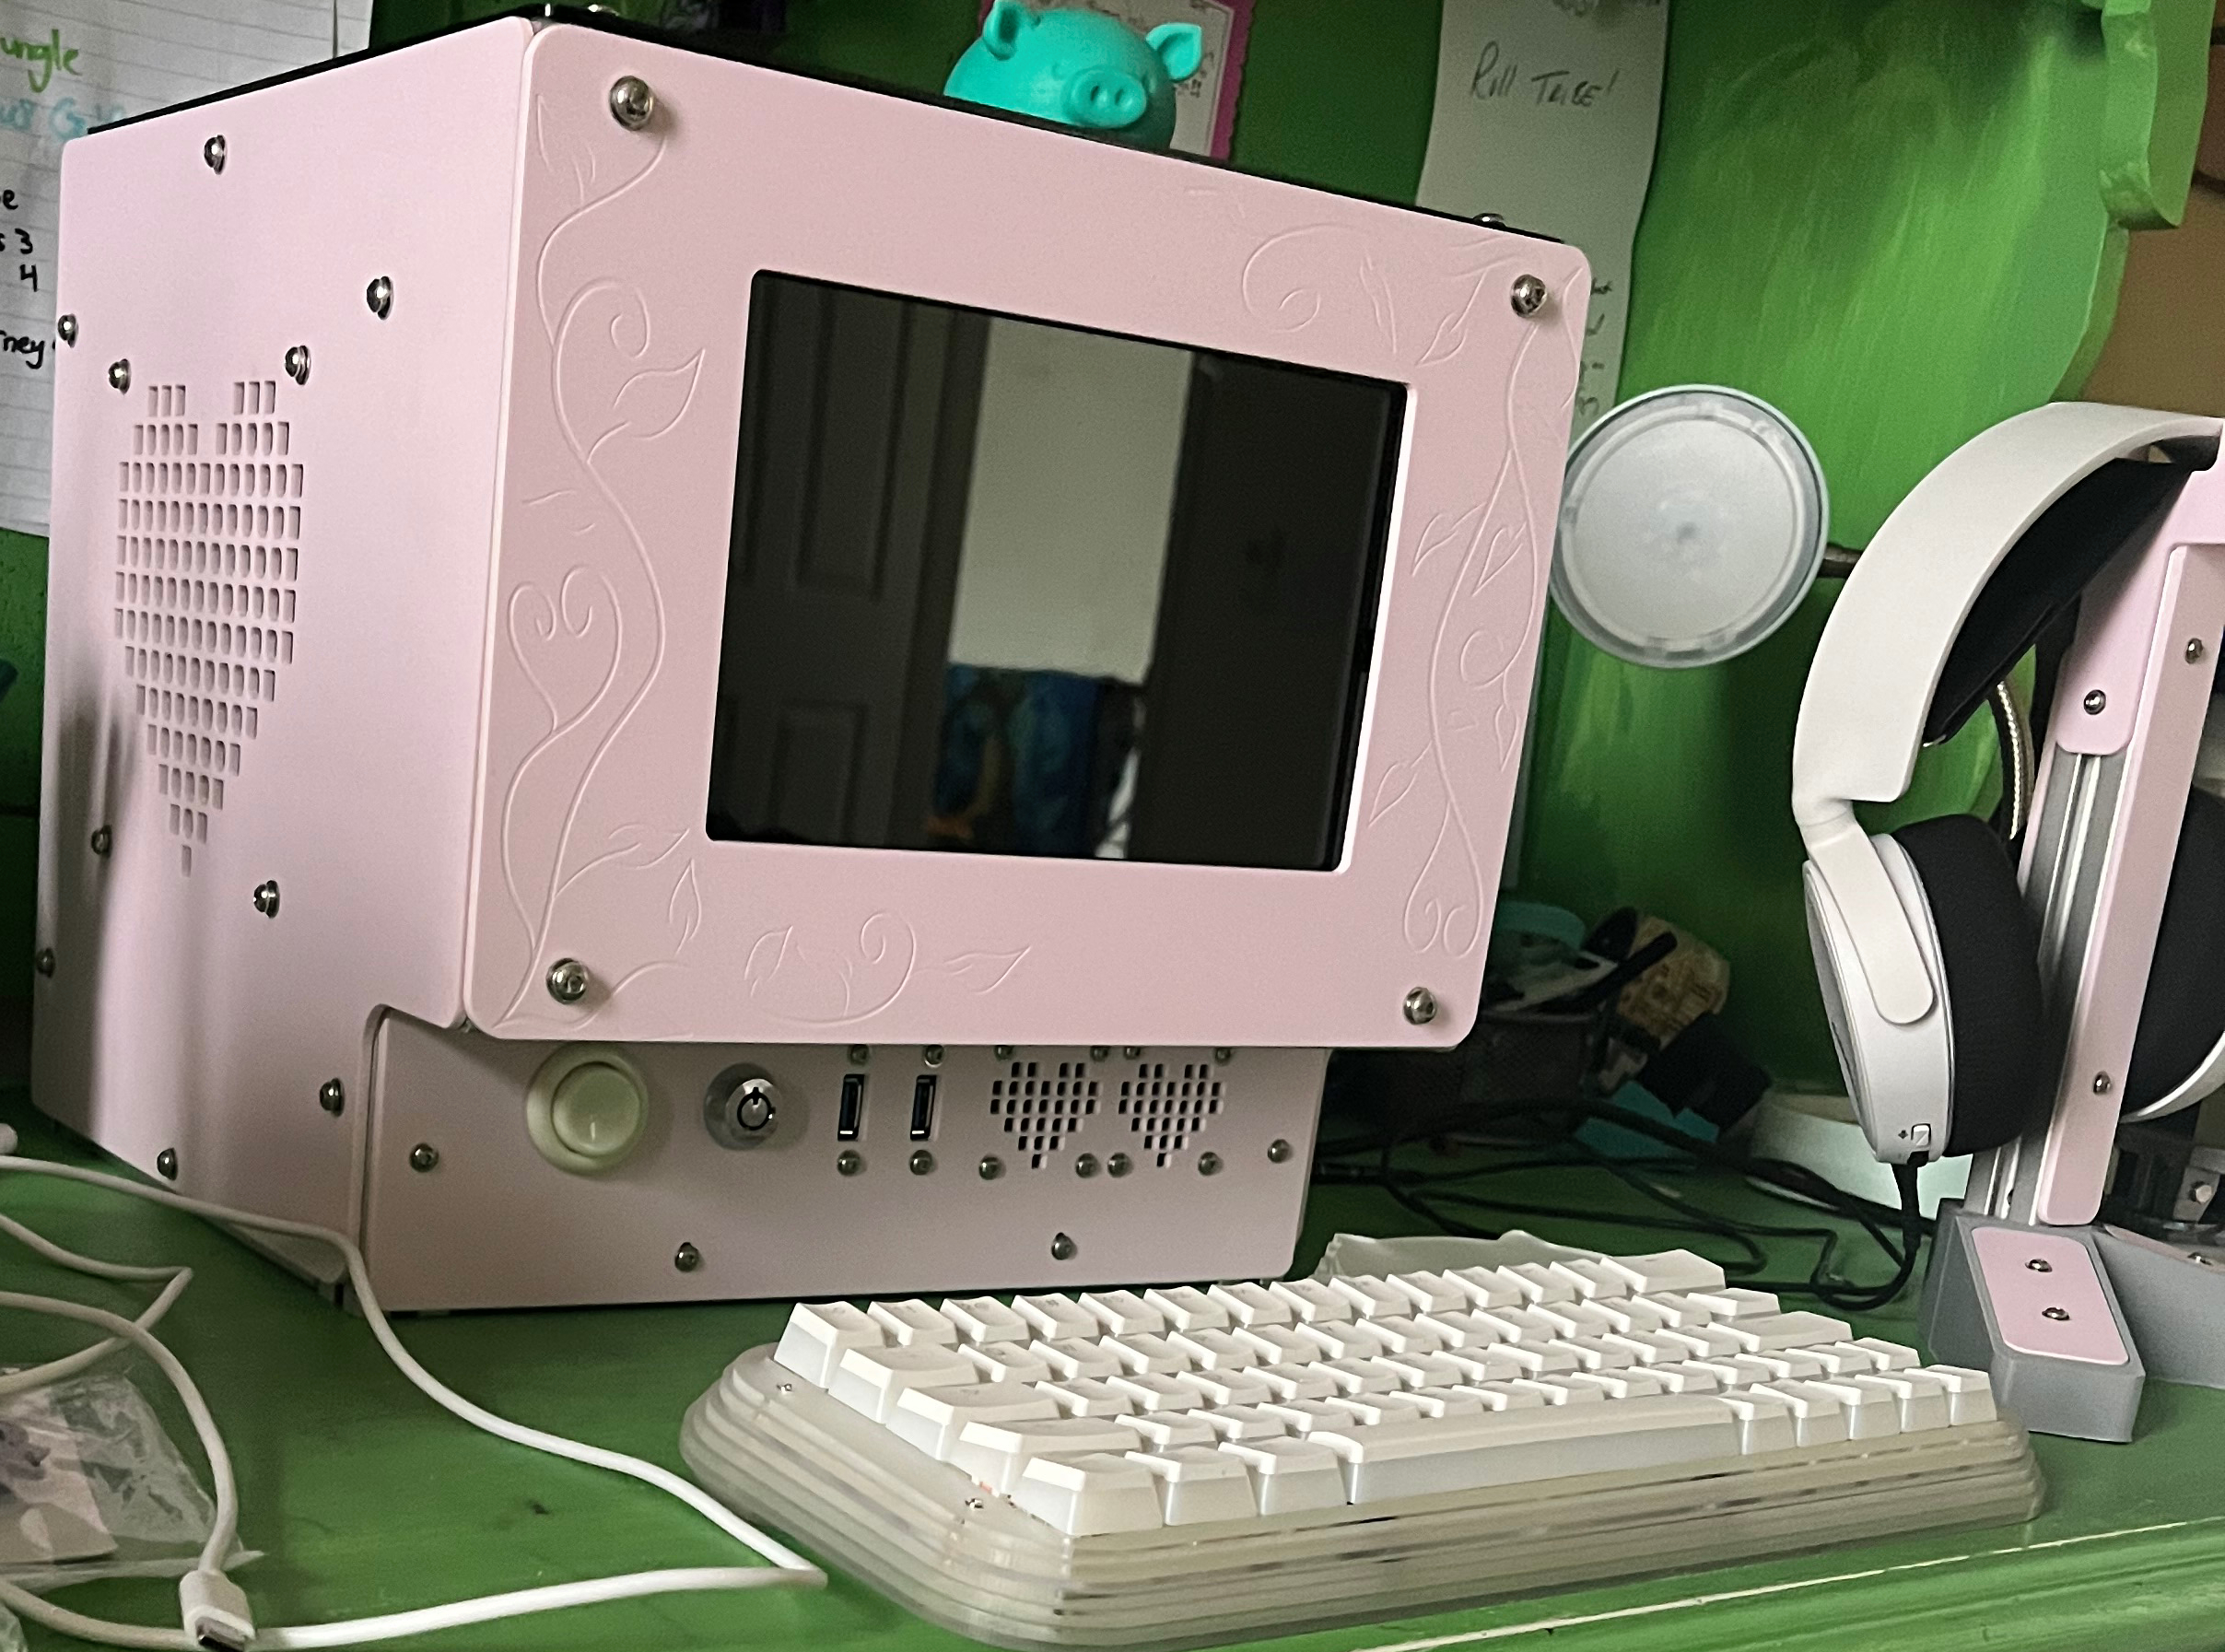
What a perfect "little sister" PC!
The monitor was a little smaller than would have been ideal, but it was surprisingly high quality and so I wanted to use it nontheless. To compensate for the large bezels, I hired an artist friend of mine to make a design for the bezels and then lazer engraved it onto the front. To make the design a little more exciting, I added a translucent purple top so you can view the internals.

The Bezel Design
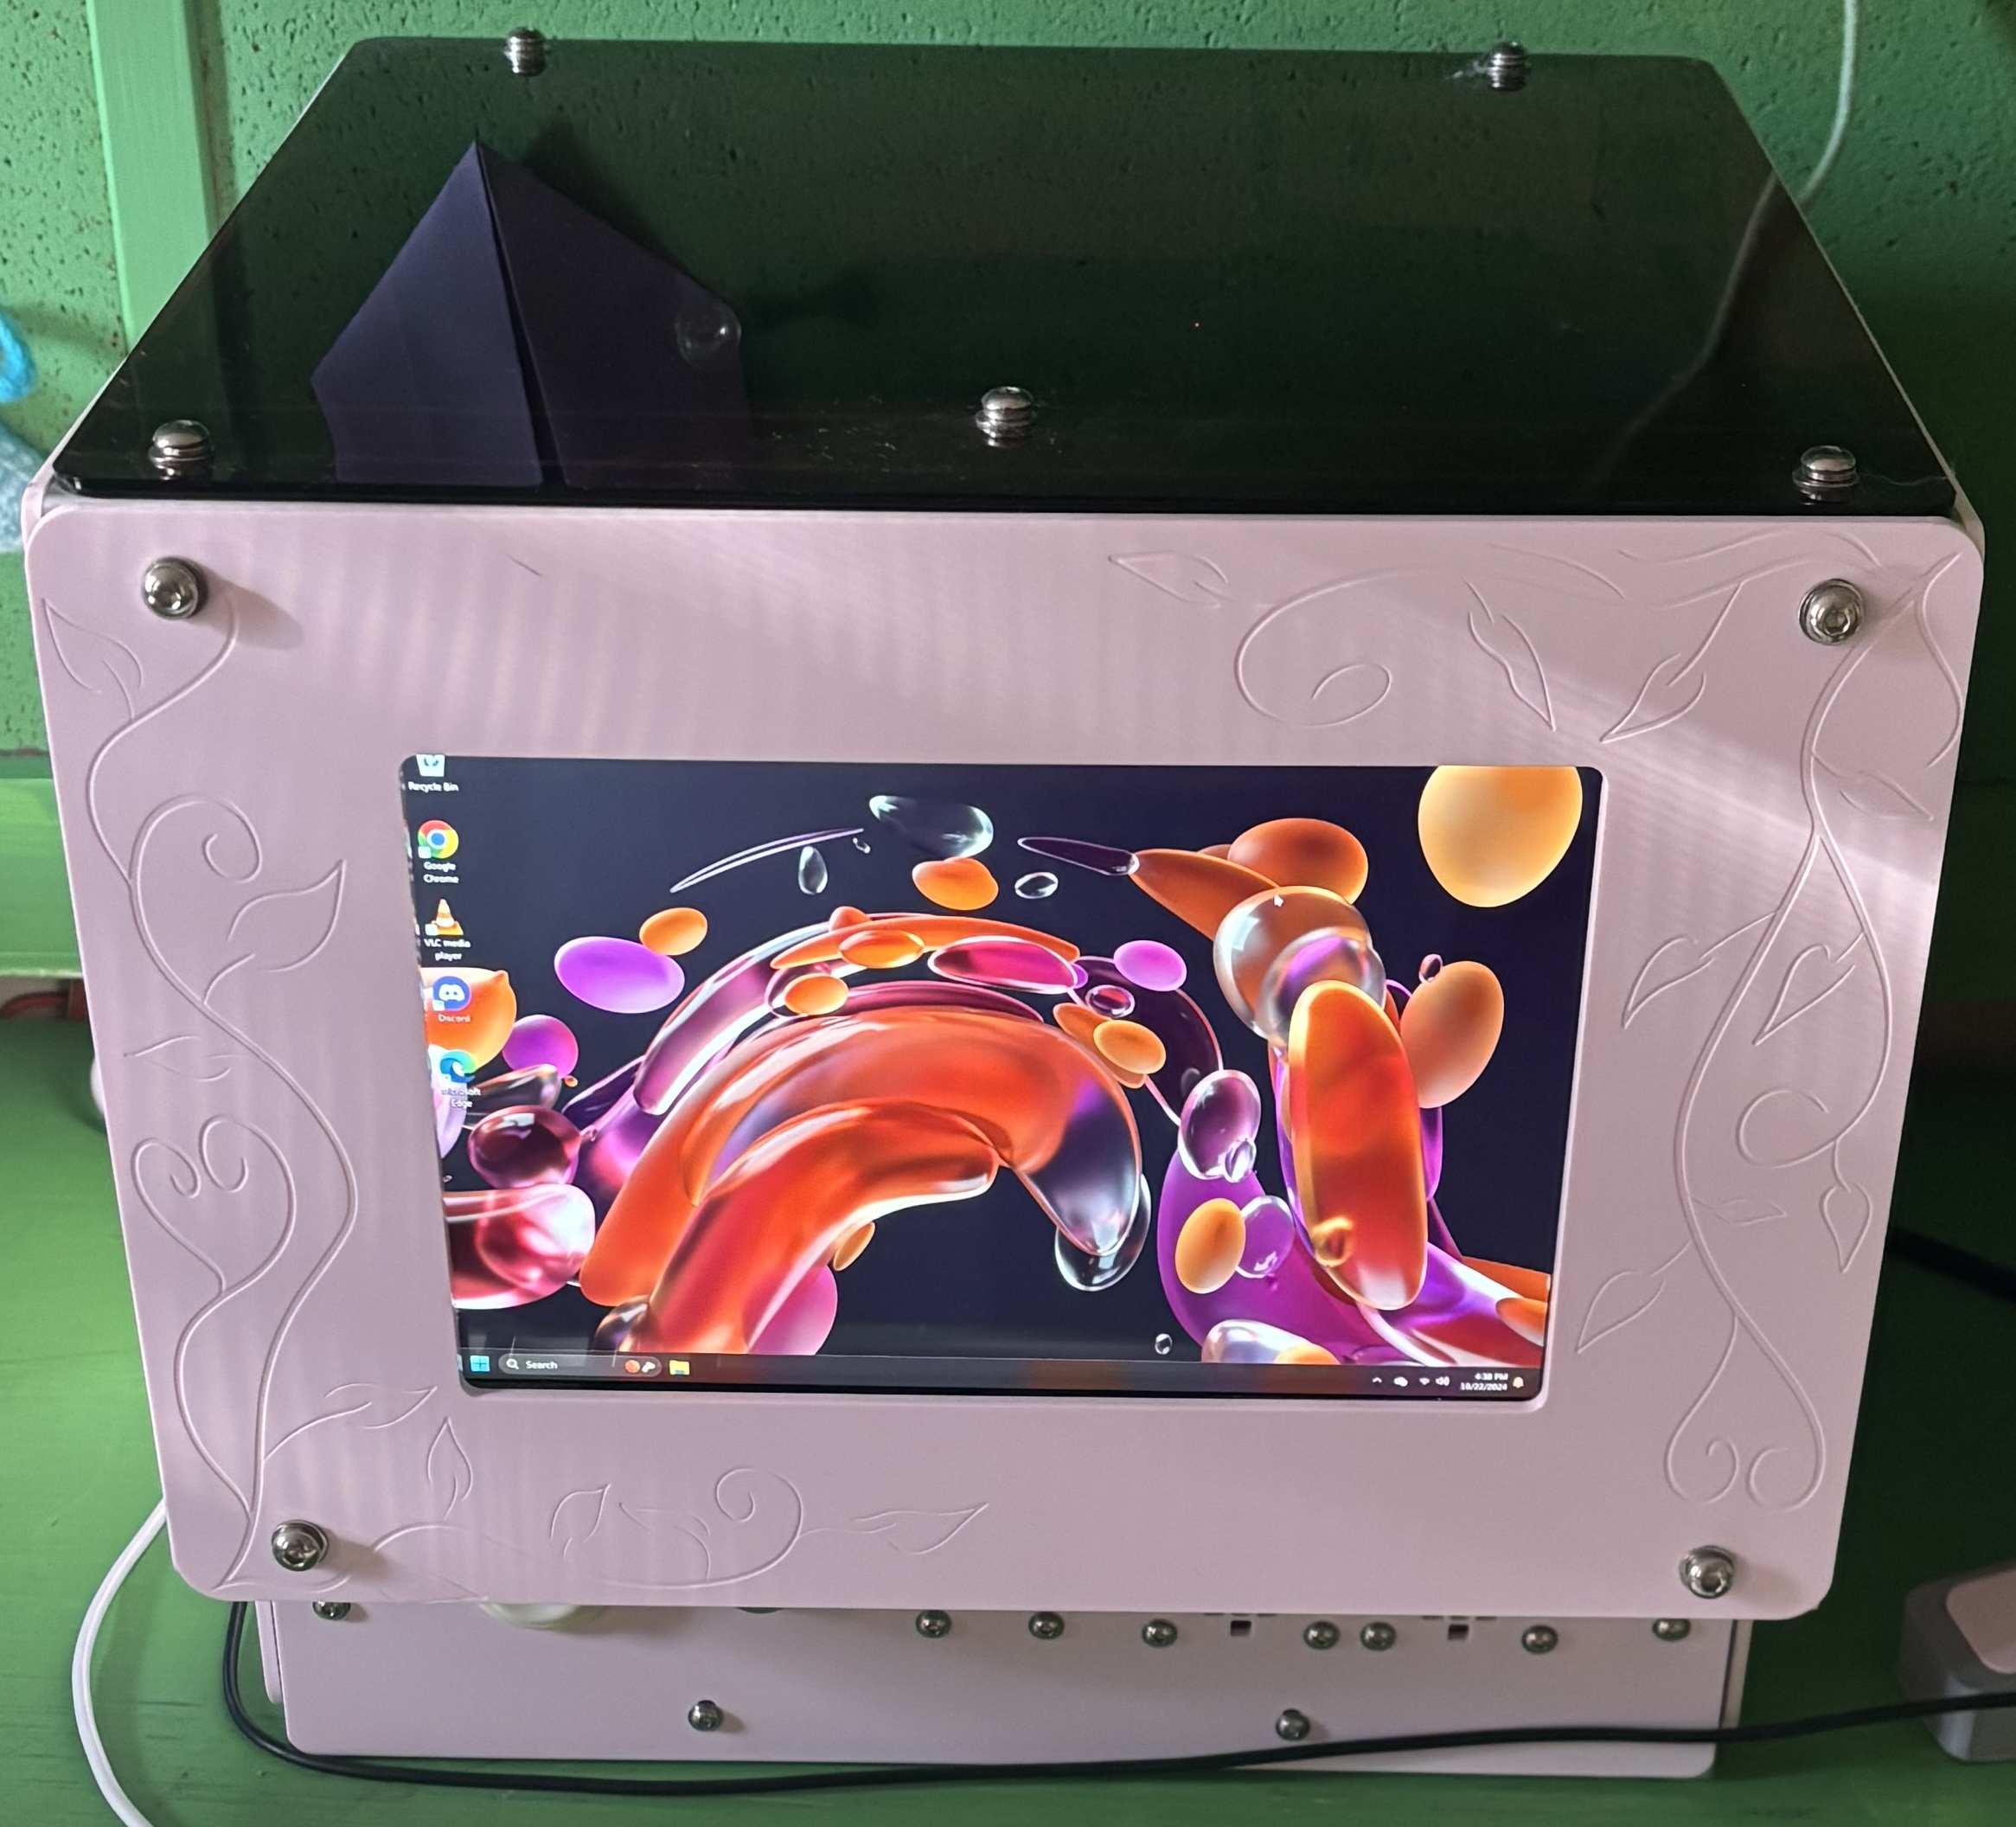
The finished head-on view.
At the last second, I made a headphone stand that matched the design, for a complete set of peripherals including a mechanical keyboard I already had, a logitech mouse, and a headset off ebay.
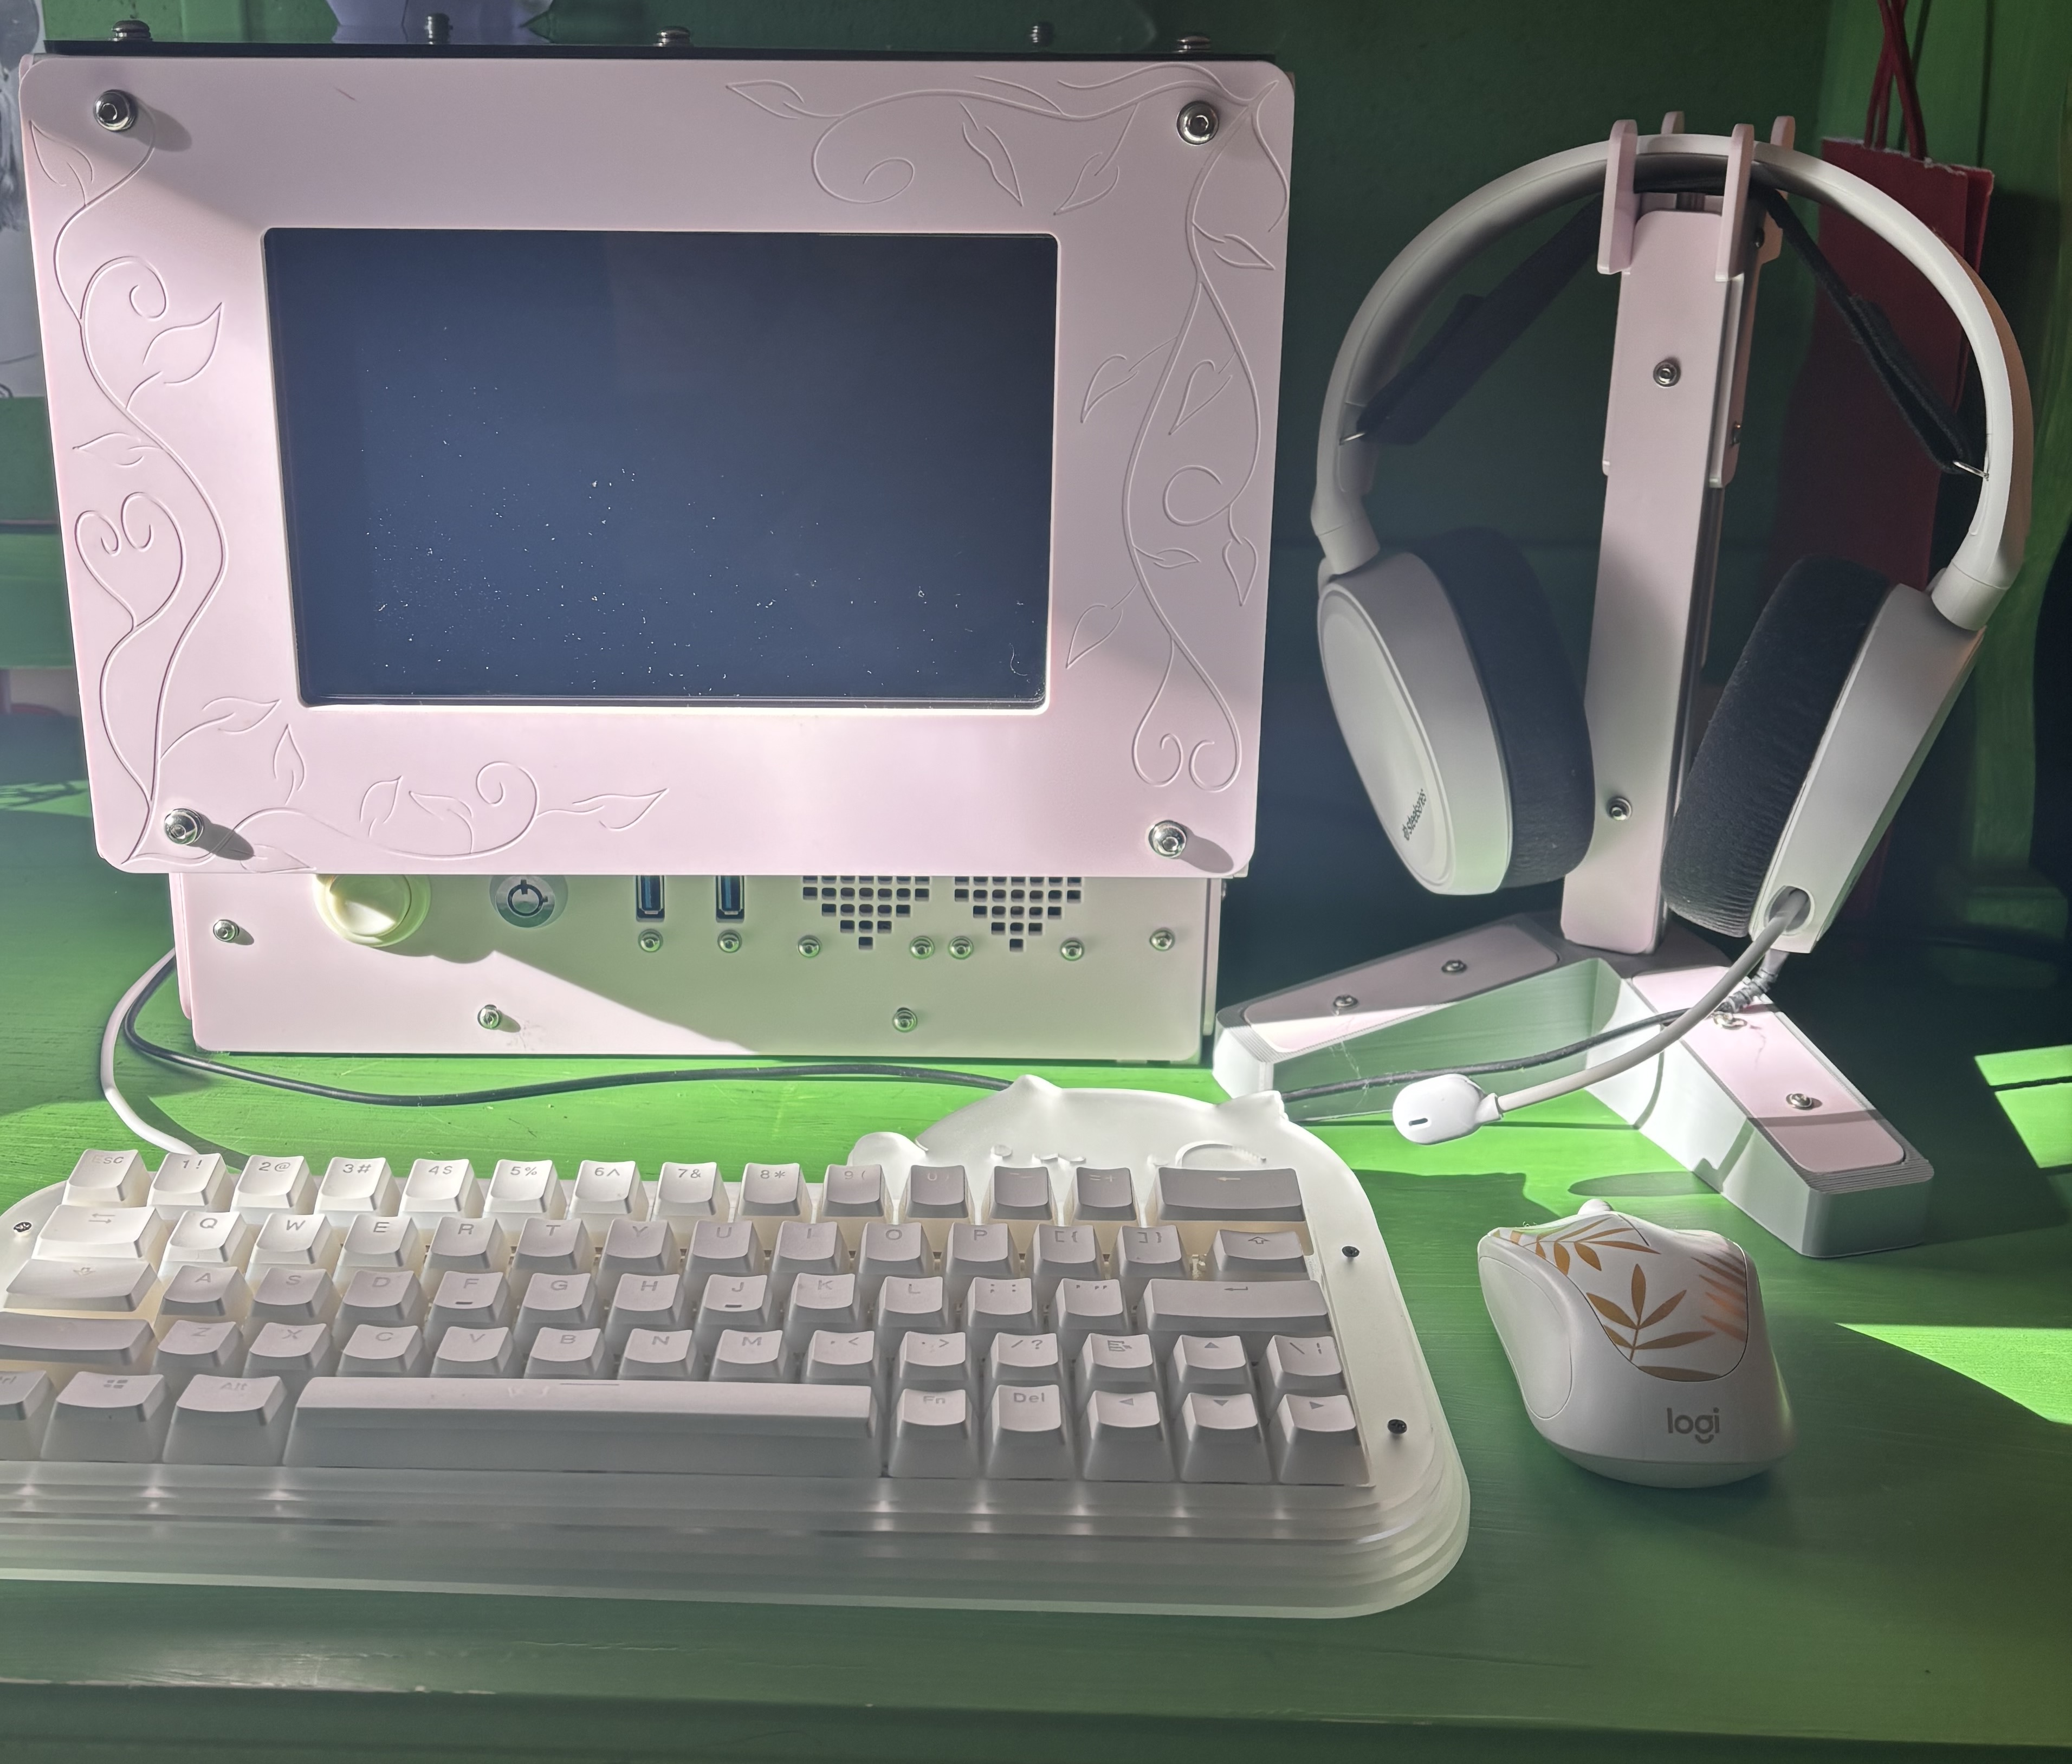
Watch out, r/battlestations.
And that’s the build! Extremely proud of this one, and recieved a TON of big sister cred for it.